|
|||||||||||||||||||
|
|
|
|
||||||||||||||||
|
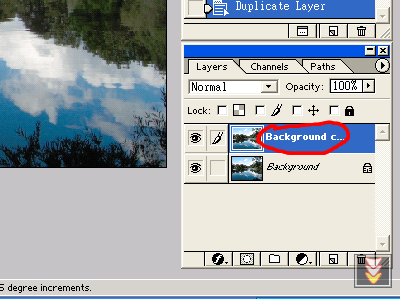
Contrast MaskingStep 1Right click on the background layer in the Layers panel and select "Duplicate Layer...". |
||||||||||||||||||
|
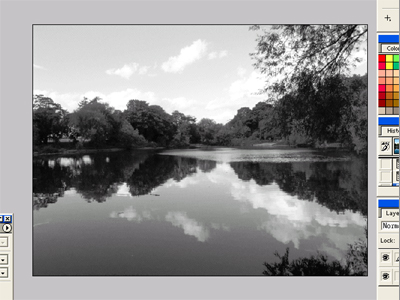
Step 2Select "Image->Adjust->Desaturate". |
||||||||||||||||||
|
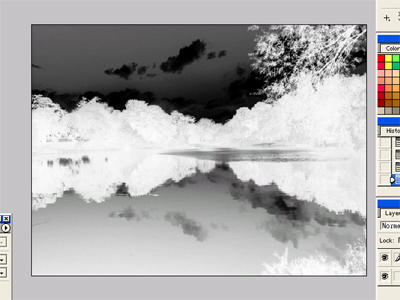
Step 3Select "Image->Adjust->Invert" or press "Ctrl+I". |
||||||||||||||||||
|
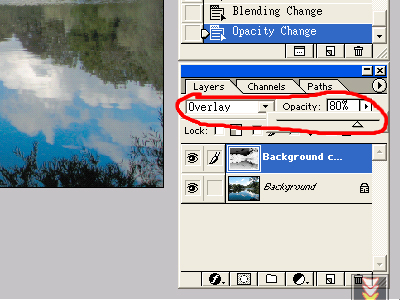
Step 4Click on the "blending mode drop-downl list" in the Layers panel and select "Overlay". Then adjust the "Opacity" bar between 50%-80%. |
||||||||||||||||||
|
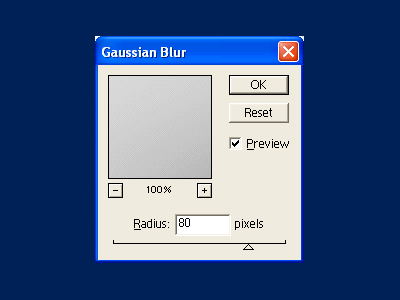
Step 5Select "Filter->Blur->Gaussian Blur" and pick an effective radius between 20-100. |
||||||||||||||||||
|
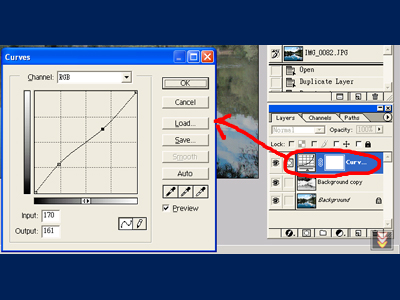
Step 6(Optional)If the photo still doesn't look good enough, then apply this optional step. In the Layers panel, create a new "Adjustment Layer" with Curves. Tweak until you are happy with the result. |
||||||||||||||||||
|
Tips: To achieve better result, you will need to experiment with the opacity and the radius of Gaussian blur because they are different for each photo. |
|||||||||||||||||||