 |
|||||||||||||||||||
|
|
|
|
||||||||||||||||
|
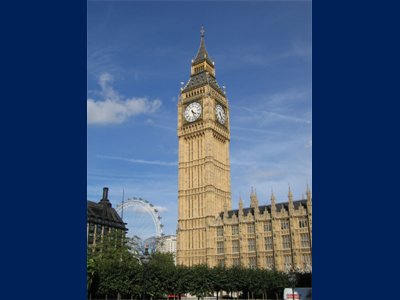
Basic - Curves 1Sample ImageSample image for the demonstration of Curves. |
||||||||||||||||||
|
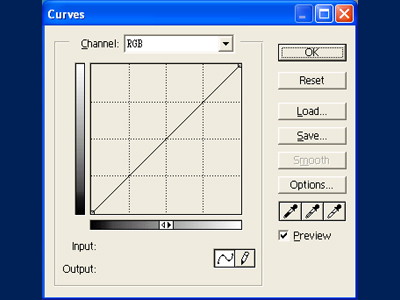
Curves windowSelect "Image->Adjust->Curves" to open the Curves window. A slope is displayed on a 2 dimentional grid. The x-axis represents the input levels and the y-axis represents the output levels. The slope tells the user what output luminance value will be for a given input levels. There are also two anchor points at each end of the slope and you can add as many anchor points as you like in the middle. A black anchor point denote that this is the active point(ie. the one you are currently trying to adjust). The basic functionality of the Curves window is very similar to the Levels window. |
||||||||||||||||||
|
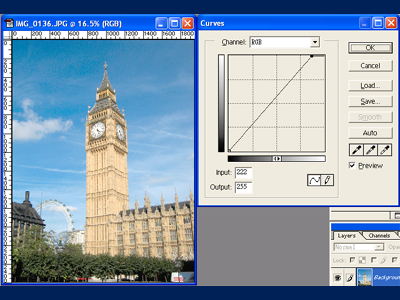
Right Most Anchor PointIt has the same effect as the right triangle in the Levels window. Shifting it horizontally means a smaller input levels will give the max output luminance value and shifting it vertically means shrinking the output range by decreasing the max luminance value(same effect as the brightness adjustment in the Levels window). |
||||||||||||||||||

|
Left Most Anchor PointIt has the same effect as the left triangle in the Levels window. Shifting it horizontally means a larger input levels will give the min output luminance value and shifting it vertically means shrinking the ouput range by increasing the min luminance value. |
||||||||||||||||||
|
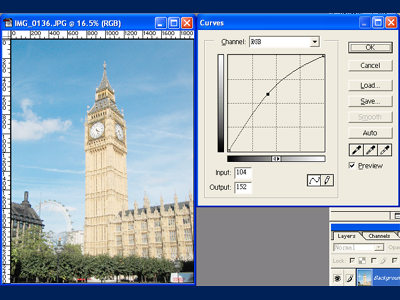
Adding a middle anchor pointIf you place a new anchor point right in the middle of the slope, it will act as the middle triangle in the Levels window. Use this new point to lift up the slope will set a lower % gray as the medium gray and pull down the slope will set a higher % gray as the medium gray. Just like the Levels adjustment, Curves adjustment can also be applied to each individual color channel(RGB). |
||||||||||||||||||
|
Curves is a lot more powerful than Levels and in fact the latter is a simplified version of the former. Multiple extra anchor points can be placed onto the slope to give a better control of the contrast & brightness. I will explain Curves in more detail in the "Curves 2" tutorial when we start to look at how to maximize dynamic range of a digital photo(A disadvantage of the digital format is its smaller dynamic range compared to the traditional film). Tips: In photoshop 7 and above, users can open up a separate histogram window by selecting "Window-> Histogram" while adjusting the Curves so that they can watch how the histogram responds to the change and make sure not to clip any color channel. |
|||||||||||||||||||